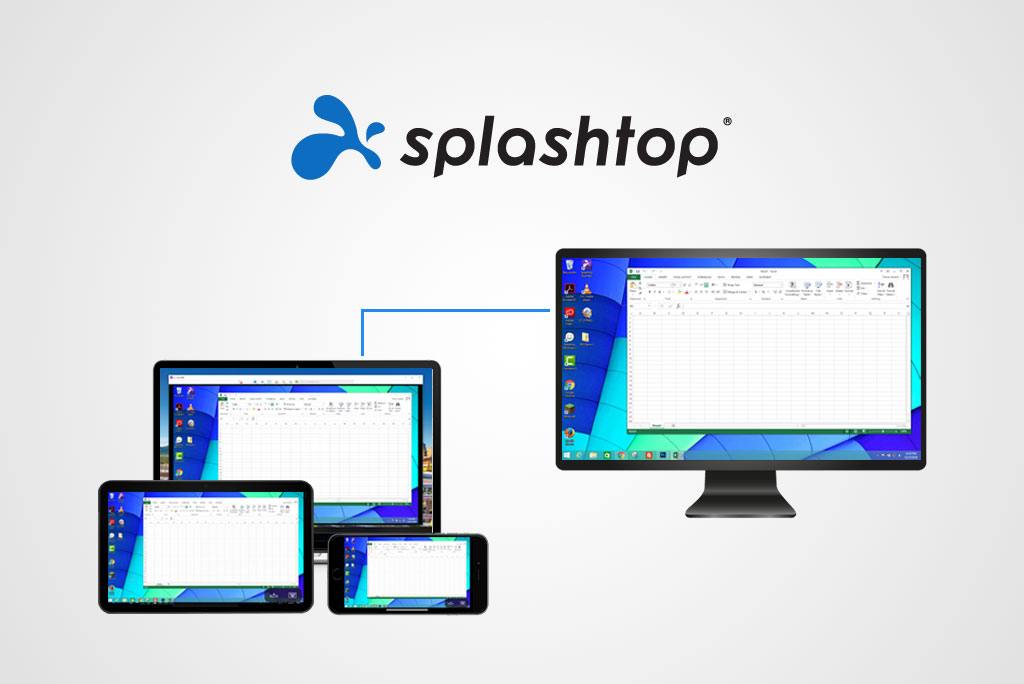
Splashtop Remote Desktop is a versatile and user-friendly software solution that enables you to access your computer from virtually anywhere. Whether you’re working from home, on a business trip, or just need to access your files on the go, Splashtop offers reliable and secure remote access to your desktop environment.
This powerful tool stands out from other remote desktop options due to its high-performance capabilities and top-notch security features. With Splashtop, you can expect fast remote connections in HD quality, 4K streaming, and real-time audio capabilities. This ensures you can seamlessly perform tasks, run applications, and collaborate with ease, regardless of your location.
Setting up Splashtop is simple, requiring just a few steps. Once you’ve installed the required apps on your devices, you’ll be all set to take full advantage of the convenience and flexibility this solution provides. So, let’s get to know more about this mindblowing platform.
Understanding Splashtop Remote Desktop
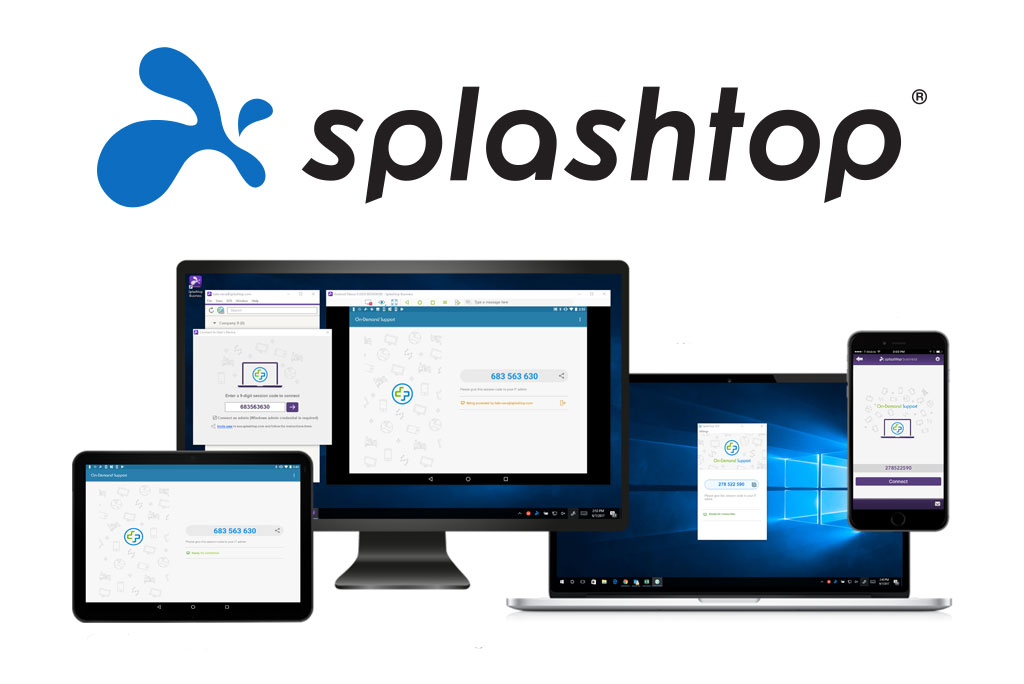
Splashtop Remote Desktop is a powerful and versatile software that allows you to access and control your computer from any device, such as Windows, Mac, Android, iOS, or Chrome. It is compatible with various operating systems, including Windows 11 and Linux, which makes it an ideal solution for a wide range of users.
When using Splashtop, you install the Splashtop Streamer on the host computer and then install the Splashtop Business App on the client device. The setup process is straightforward and requires only a few minutes to complete. This ease of use makes Splashtop an attractive option for both technical and non-technical users.
The connection between your device and the host computer is secure, ensuring that your data remains protected during remote sessions. Splashtop’s high-performance connections also provide an enjoyable remote desktop experience.
Splashtop Remote Desktop’s user-friendly interface and compatibility make it a top choice for individuals and businesses alike. Whether you need to access crucial files while on the go or provide remote assistance, Splashtop Remote Desktop is a reliable and effective solution.
Installation of Splashtop Streamer and Client App
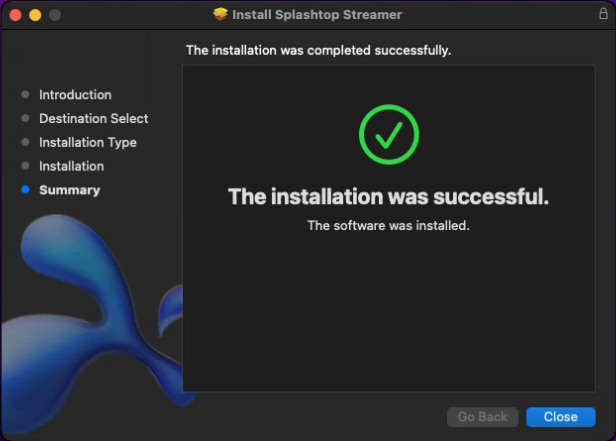
Setting up Splashtop Remote Desktop involves two main components: the Splashtop Streamer and the Splashtop Client App. The Streamer is installed on the computer you want to access remotely, while the Client App is installed on your smartphone or tablet. This section will guide you through downloading and installing both components so you can start using Splashtop to manage your devices remotely.
1. Download and Install Splashtop Streamer
To get started, head to the Splashtop website downloads page to download the appropriate Splashtop Streamer for your computer’s operating system—whether it’s Windows, macOS, or Linux. After downloading the installer, run it and follow the on-screen instructions to complete the installation.
During the installation process, you’ll be prompted to create a Splashtop account if you don’t have one already. This is an essential step for managing your devices and ensuring secure remote access. After creating an account, log in with your email address and password.
2. Download and Install the Splashtop Client App
Once the Splashtop Streamer is installed on your computer, it’s time to set up the Splashtop Client App on your smartphone or tablet. Visit the Splashtop Personal Downloads page and download the app for your iOS or Android device. The app is also available on the Apple App Store and Google Play Store.
Install the Client App on your smartphone or tablet by following the instructions specific to your device. After installation, open the app and log in using the same Splashtop account credentials you set up earlier.
Getting Started with Splashtop
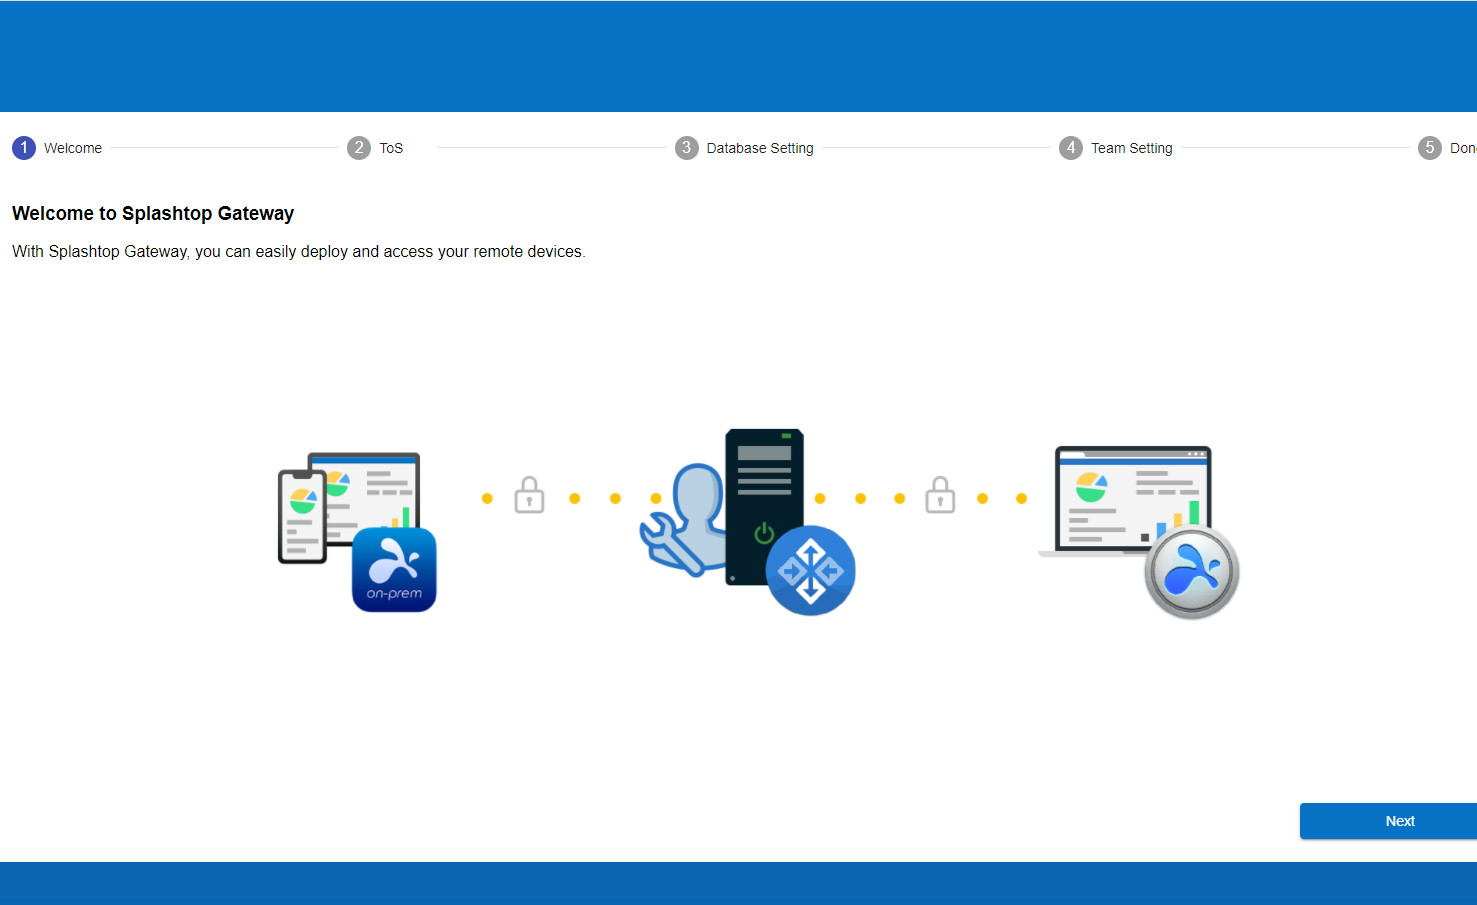
Setting up Splashtop for remote desktop access is straightforward. In this section, we will guide you through the initial steps to get your Splashtop up and running for remote sessions.
1. Create Account
First, you’ll need to create a Splashtop account by starting a free trial of Splashtop Business Access. Creating an account does not require any credit card or commitment.
2. Install Splashtop Streamer
To install the Splashtop Streamer on your computer, navigate to the Splashtop downloads page, where you can find compatible versions for various operating systems. From the Splashtop web console, you can customize and deploy streamers to the computers under your account.
3. Start a Remote Session
Now that you have the Splashtop Streamer installed, you can start a remote session using the Splashtop Business app or the Splashtop Business Chrome Extension. Open the app on your device and select the computer you want to access. You will see the screen of the remote computer on your local device, and you can use the toolbar to control various features.
Splasktop Remote Desktop: Features and Functionalities
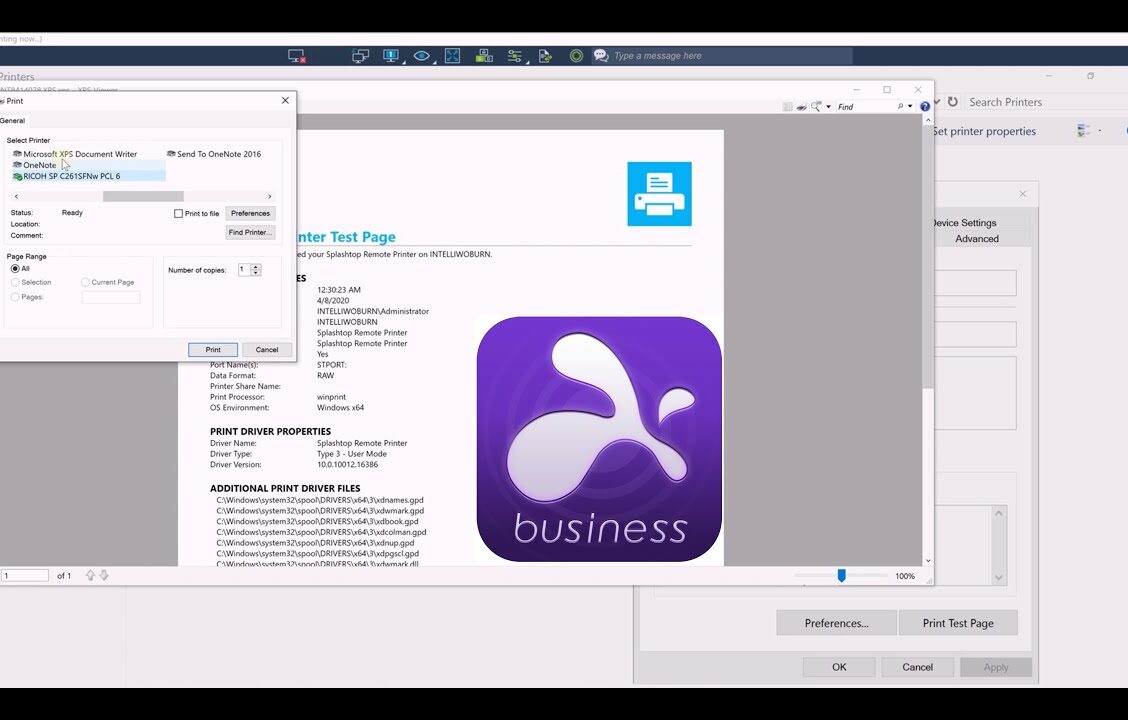
Splashtop offers a wide range of features and functionalities to make your remote desktop experience seamless and efficient. Let’s explore some of the key features that enhance productivity and user experience.
1. Multi-Monitor Support
This allows you to view multiple monitors on one screen while controlling a remote computer, making it easier to manage your workspace and navigate between various applications.
2. File Transfer
Another essential feature is the ability to transfer files between your local and remote computers. This can be particularly useful when working on large projects that require sharing and updating files across different locations.
3. Remote Print
With Splashtop, you also benefit from remote print functionality. This enables printing from a remote computer to your local printer, streamlining the process of generating hard copies of your work when required.
4. High Performance
In terms of remote control, Splashtop provides a high-performance connection that allows you to easily view and control your remote computer from any device. This feature supports cross-platform connections, ensuring compatibility with various operating systems such as Windows, macOS, Linux, iOS, and Android.
5. Security
Splashtop takes security seriously by implementing features like proxy server authentication, digitally signed applications, and session logs. This ensures that your remote desktop experience is not only efficient but also secure.
Pros and Cons of Using Splashtop
Splashtop is a powerful tool for accessing and managing remote computers. In this section, we will explore the pros and cons of using Splashtop, with a focus on ease of use and interface.
Pros:
- Ease of use: Splashtop is known for its user-friendly and minimalistic UI, making it easy for users to navigate and control remote systems. The streamlined design caters to both novice and experienced users, simplifying the remote access process.
- Cross-platform compatibility: Splashtop provides remote access capabilities for a wide range of devices, including Windows, Mac, iOS, Android, and even Kindle and BlackBerry devices.
- Unattended access: With Splashtop, you can access unmanned computers without needing additional software installations on the client side, increasing flexibility and ease of access for users.
Cons:
- Whiteboard feature limitations: Splashtop’s whiteboard functionality is only available for mobile devices, as pointed out by PCMag, which can be a drawback for users looking for this feature on desktop platforms.
- Complicated pricing: Users might find the pricing structure for Splashtop to be complex, which can make it difficult to find the most cost-effective solution for their needs, as explained in the same PCMag review.
Frequently Asked Questions
Q1. Is the Splashtop app free?
The Splashtop app offers a free version called Splashtop Personal, which allows access to your personal computer from other devices. However, this free version is limited to non-commercial use and local network connections. For business purposes or additional features, you will need to subscribe to one of Splashtop’s paid plans.
Q2. How does Splashtop compare to TeamViewer?
Splashtop and TeamViewer are both popular remote access tools, but they differ in pricing and features. Splashtop offers a more affordable solution, often with lower subscription fees than TeamViewer.
In addition, Splashtop is well-known for its high-performance remote connections, delivering smooth and responsive access to computers. On the other hand, TeamViewer offers more advanced features, like advanced security options and multi-platform support.
Q3. How do I connect using the Splashtop?
To connect using Splashtop Remote Desktop, follow these steps:
- Sign up for a Splashtop account if you don’t already have one.
- Install the Splashtop Streamer on the computer you want to access remotely. This streamer stays running in the background, ready to accept connections.
- Install the Splashtop Remote Desktop app on the device you’ll use for remote access (e.g., smartphone, tablet, or another computer).
- Log in to the app with your Splashtop account credentials and see a list of computers with the Splashtop Streamer installed.
- Click on the computer you want to connect to and enter the security code or password if prompted.
- Once connected, you can control your remote computer as if you were sitting in front of it.
Q4. What is the cost of Splashtop’s services?
Splashtop offers a variety of plans with different costs based on your specific needs:
- Splashtop Personal: Free for non-commercial use with local network access.
- Splashtop Business Access: Starting at CAD 6.11 per user per month, billed annually, for accessing and managing multiple computers.
- Splashtop Remote Support: Starting at CAD 30.58 per month, billed annually, for IT teams and MSPs to support their clients’ computers.
Splashtop SOS: Starting at CAD 25.48 per month, billed annually, for quick, on-demand support for an unlimited number of devices.
