Remote work and system management have become the new normal. The ability to control computers from afar is not just convenient but essential. Hence, the capability to enable Remote Desktop through the command line stands out. Well, this powerful feature lets you access another computer’s interface—whether across the room or across the globe—all from your keyboard’s command prompt. If you find yourself intrigued by the idea of command-line mastery, you’re in the right place. In this guide, we will examine the process of how to enable remote desktop Windows 10 command line, offering you a swift and efficient path to remote computing.
Why Enable Remote Desktop Through Command Line?
Using the command line to enable Remote Desktop is a faster and more efficient process, especially for those managing multiple computers. By executing a few simple commands, you can enable Remote Desktop Windows 10 command line and ensure it’s allowed through the Windows Firewall.
How to Enable Remote Desktop Windows 10 Command Line?
To enable Remote Desktop Windows 10 command line, follow these simple steps:
Step 1: Open Command Prompt as Administrator
- Click on the Start menu.
- Type “CMD” into the search bar.
- Right-click on “Command Prompt.”
- Click on “Run as administrator.”
- Confirm by clicking “Yes” if prompted.
Step 2: Enable Remote Desktop Protocol

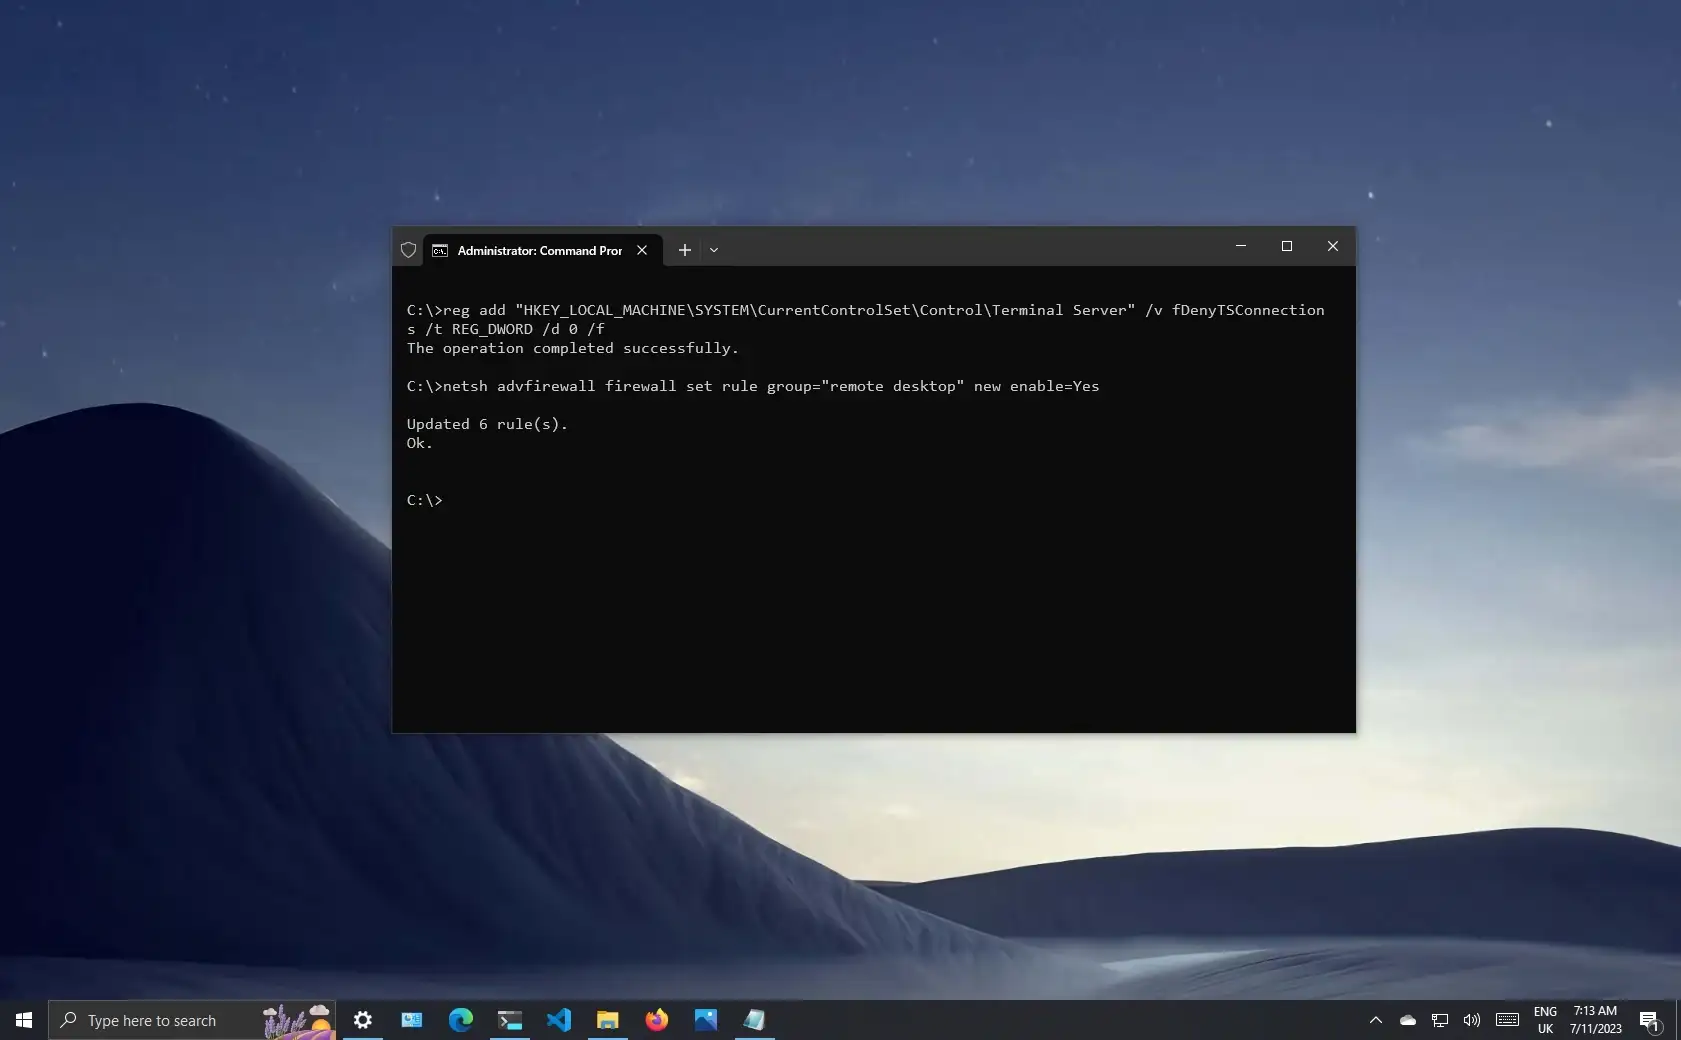
Use the below command to Windows 10 command line (RDP). Copy this command and paste it into the Command Prompt window:
reg add "HKEY_LOCAL_MACHINE\SYSTEM\CurrentControlSet\Control\Terminal Server" /v fDenyTSConnections /t REG_DWORD /d 0 /f
You should see a message saying, “The operation was completed successfully.”
Step 3: Allow Remote Desktop Through Firewall

Next, you need to allow the Remote Desktop through the Windows Firewall by using the following command:
netsh advfirewall firewall set rule group="remote desktop" new enable=Yes
Wait a few moments as it processes, and you should see a message indicating that the rules have been updated.
How to Disable Remote Desktop with Command Prompt?
To disable Remote Desktop Windows 10 command line, follow these simple steps:
1. Press the Win + X keys to open the Quick Access Menu and then select “Command Prompt (Admin)” or “Windows PowerShell (Admin)”.

2. With the command prompt open as administrator, type the following command and hit Enter:
reg add "HKEY_LOCAL_MACHINE\SYSTEM\CurrentControlSet\Control\Terminal Server" /v fDenyTSConnections /t REG_DWORD /d 1 /f
3. After pressing Enter, you should see a message that the operation has been completed successfully.
4. Reboot your computer to apply the changes.
Remember to enable remote desktop Windows 10 command line again in the future; you need to follow the same steps but replace the ‘1’ with a ‘0’ in the command:
reg add "HKEY_LOCAL_MACHINE\SYSTEM\CurrentControlSet\Control\Terminal Server" /v fDenyTSConnections /t REG_DWORD /d 0 /f
Doing this allows you to confidently and knowledgeably disable or enable remote desktop Windows 10 command line. You can check our other guide for remote assistance for more remote connecting ways.
Troubleshooting Common Issues
Network Connectivity Problems
If you face connectivity issues while using the enable remote desktop Windows 10 command line, first check if the network works properly. Ensure both client and host are connected to the internet. You can test network connectivity. Also, you can review our guide to the best VPN types.
- Pinging the remote computer’s IP address
- Checking network cables, adapters, and routers
- Verifying that both devices are on the same subnet or VPN
User Authorization Issues
Sometimes, you may experience user authorization issues while using Remote Desktop. To resolve this, configure the Remote Desktop settings by:
- Adding the user account to the “Remote Desktop Users” group on the remote computer
- Verifying the remote computer’s permission settings are correct
- Checking for proper domain or workgroup settings
Keep in mind that not all user accounts have remote access privileges. Admins should verify permissions and group memberships to ensure access for necessary users. You must check our guide if you are having issues with AnyDesk.
Frequently Asked Questions
Q1. How to enable remote desktop Windows 10 command line?
- Open the Start menu.
- Search for “Command Prompt”.
- Right-click the first result and select “Run as Administrator”. , and press Enter.
- Enter the command: reg add “HKEY_LOCAL_MACHINE\SYSTEM\CurrentControlSet\Control\Terminal Server” /v fDenyTSConnections /t REG_DWORD /d 0 /f
- To enable RDP through Windows Firewall, enter the command mentioned in this source.
Q2. Which command checks if RDP is enabled?
- Open Command Prompt with administrator privileges.
- Enter: reg query “HKEY_LOCAL_MACHINE\SYSTEM\CurrentControlSet\Control\Terminal Server” /v fDenyTSConnections.
- If the returned value is “0x0”, RDP is enabled. If it’s “0x1”, RDP is disabled.
Q3. How to enable RDP through PowerShell?
- Open PowerShell with administrator privileges.
- Run the following command: Set-ItemProperty -Path ‘HKLM:\System\CurrentControlSet\Control\Terminal Server’ -Name “fDenyTSConnections” -Value 0.
- To enable RDP through Windows Firewall, follow the instructions mentioned in this source.
Conclusion
Through this simple process, you can enable remote desktop Windows 10 command line with ease. This method benefits IT administrators and tech-savvy users who prefer using the command line. Need more assistance or have any questions? Feel free to comment down below, and we’ll be happy to help you.


