
Screen sharing has become an essential tool for remote work, online collaboration, and technical support, making it easier than ever to share and view content on a computer. With the ability to display the entire desktop or just a single window, screen sharing applications provide complete control over visibility and ensure privacy while collaborating.
In this article, we will tell you about the top 5 screen sharing apps for PC and their pros and cons. Along with this, you will also get to know how to choose the best screen sharing app for PC. So without any further delay, let’s just jump on to the main topic.
Screen Sharing App for PC: An Overview
A screen sharing app for PC is a software that allows one user to share the contents of their screen with another user, often over the internet. This means that whatever is displayed on the presenter’s screen can be viewed in real time by another person or even multiple people.
Simply put, a screen sharing app allows users to share their screen’s content with others, which can be invaluable for collaborative, educational, and support activities. On PCs, these apps can either be standalone, web-based, or integrated into broader communication platforms.
Why is Screen Sharing App for PC Used?
- Collaboration: In a work environment, team members can discuss projects, review documents, or troubleshoot problems together.
- Education: Tutors and teachers can give lessons or presentations to students.
- Technical Support: IT professionals or customer support teams can view a user’s screen to diagnose and resolve issues directly.
- Presentations: In a business context, one might use screen sharing to present slides, demonstrate software, or provide training.
Popular Screen Sharing App For PC (2023)
The landscape of remote work and online collaboration has made screen sharing apps more essential than ever before. With various options available, in this section, we’ll discuss the top 5 screen sharing app for PC, their features, and their pros and cons.
1. TeamViewer
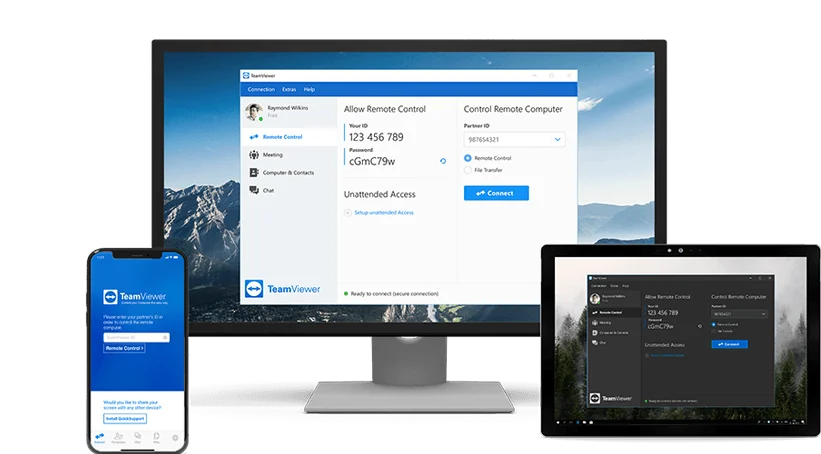
TeamViewer is a widely recognised app for remote support and collaboration, offering a free version for non-commercial uses. Its ease of use and compatibility with various devices makes it a popular choice for both professionals and casual users. The comparison between AnyDesk and TeamViewer highlights the features, security, and pricing to help users decide which app is the best fit for them.
Pros:
- Simple and intuitive interface
- Supports file transfer and remote printing
- Cross-platform compatibility
Cons:
- Expensive plans for commercial use
- It may require a strong internet connection for a seamless experience
2. AnyDesk
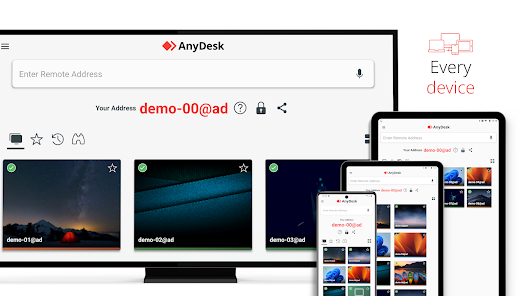
AnyDesk is another prominent remote access solution that offers high-speed screen sharing and excellent connection stability. It is fast, lightweight, and easy to use, making it ideal for personal and business needs. It allows users to access a computer remotely or share their screen with another user, making it particularly useful for technical support, remote work, or collaboration.
Pros:
- Fast and efficient connection
- Affordable pricing options
- Customization and branding features
Cons:
- Limited features compared to some competitors
- Occasional stability issues with Mac and Linux versions
3. Zoom
If you are looking for a reliable screen sharing app for PC, then Zoom is an ideal choice for you. It is a well-rounded screen sharing app that offers HD video and audio, along with built-in collaboration tools. It is perfect for hosting webinars and conferences, with options to record meetings and create transcripts.
Pros:
- User-friendly interface
- High-quality video and audio
- Integrations with other popular tools
Cons:
- Requires a subscription for advanced features
- Security concerns in the past
4. Microsoft Teams
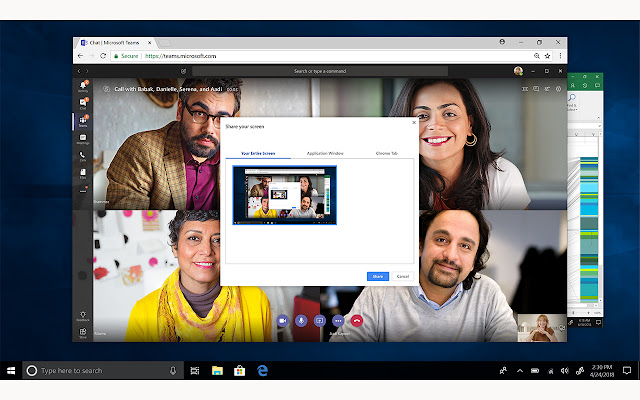
Microsoft Teams is a comprehensive communication platform offering screen sharing, file sharing, and video/audio calls. It offers a screen sharing feature that allows users to share their screen or a specific window with other participants during a meeting or a chat. This feature is helpful for presentations, collaborative work, or troubleshooting issues remotely.
Pros:
- Seamless integration with Office 365
- Multi-device support
- Advanced collaboration features
Cons:
- Requires an Office 365 subscription for full functionality
- Learning curve for new users
- Skype
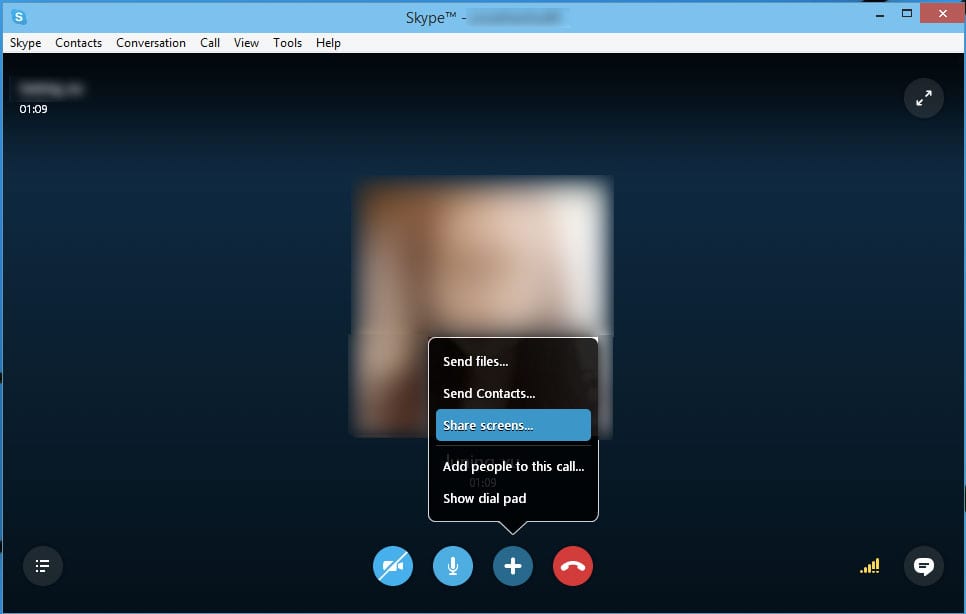
Skype is another product by Microsoft, that has been a popular communication tool for voice, video, and text chats for many years. It also offers a screen sharing feature, which is very useful for presentations, remote assistance, or just showing content on your screen to another person. So if you are looking for a screen sharing app for PC, then Skype is an excellent option for you.
Pros:
- Free for personal use
- Supports video calls and messaging
- Cross-platform compatibility
Cons:
- Limited features compared to competitors
- Requires strong internet connection for best performance
How to Use a Screen Sharing App
In this section, we will provide you with an easy-to-follow guide on how to use a screen sharing app for PC, focusing on features like settings and real-time sharing. To begin with, choose a suitable screen sharing app that fits your needs. Each app has its own strengths and weaknesses, so consider your specific requirements before selecting one.
Steps for using a screen sharing app:
- Install the chosen app on your device and create an account if required.
- Start a new session, and invite the participants you wish to collaborate with.
- Once the session begins, access the app’s settings to customise the screen sharing options, such as audio sharing and resolution.
- Locate the screen sharing button (usually represented by a monitor icon) and click it to start sharing your screen.
- If the app offers advanced features, use them to enhance the screen sharing experience. For instance, with Zoom, you can improve audio sharing to ensure crystal clear sound during presentations.
- When you’re finished sharing, click the same screen sharing button again to stop.
How to Choose the Right Screen Sharing App for PC
Choosing the right screen sharing app for your PC involves considering your specific needs, the nature of your tasks, the people you’ll be interacting with, and your budget. Here’s a guide to help you make an informed decision:
- Ease of Use: The application should be straightforward to initiate a screen sharing session.
- Quality: The clarity of the shared screen and minimal lag or latency is essential for a smooth experience.
- Security: Encryption and secure connections are crucial, especially for sensitive information.
- Collaboration Tools: Some apps allow annotations, remote control, or interactive whiteboards.
- Multi-platform Support: Depending on the audience, having an app that works across different operating systems might be beneficial.
- Audio and Video Integration: While some tools focus solely on screen sharing, others incorporate video and audio conferencing.
Troubleshooting Common Issues
Technology hiccups are inevitable. Whether you’re grappling with a greyed-out screen-sharing option or facing persistent connectivity challenges, understanding these common issues can empower you to troubleshoot them effectively. Here is how you can fix the common screen sharing issues.
1. Graying of the screen sharing option
Occasionally, users might notice the screen sharing option is greyed out. This usually occurs when attempting to share a screen without initiating a voice or video call with the other participant. To resolve this issue, ensure you initiate a call before trying to share your screen.
2. Connectivity issues
A stable internet connection is essential for seamless screen sharing. If you experience lag, freezing, or disconnections, check your connection and consider using an Ethernet cable instead of Wi-Fi for improved stability. In case the issue persists, try restarting your modem and router.
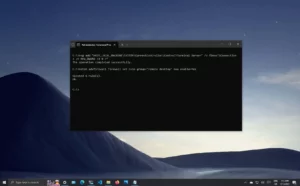
3. Device compatibility
Ensure that the screen sharing app is compatible with your device and operating system. Some apps may require updating the device’s software or downloading an additional plugin or optional feature. For instance, with Microsoft’s Wireless Display, users might need to install it as an optional feature before being able to project their screen to a PC.
4. Application-specific troubleshooting
Different screen sharing apps may face unique issues. For example, if the screen sharing isn’t working on Zoom, make sure you follow their prerequisites for troubleshooting. Similarly, if you face issues on a Windows PC, follow the steps outlined by Alphr to resolve the problem.
Frequently Asked Questions
Q1. What are the top free screen sharing applications for Windows?
Here are some of the top free screen sharing applications for Windows:
- Zoom: Offers free meetings with screen sharing but with a 40-minute limit on group meetings.
- Skype: Provides free voice, video, and screen sharing features.
- Microsoft Teams: While there’s a paid version, the free tier also offers generous screen sharing capabilities.
- AnyDesk: Primarily for remote access, but can be used for screen sharing too.
- TeamViewer: Another remote access tool that’s popular for screen sharing.
- Discord: Originally for gamers, but its screen sharing feature is robust for general use.
- Google Meet: Web-based, easy to use, and integrates well with other Google services.
These applications have different strengths, so the best choice depends on the specific needs of the user.
Q2. Which screen sharing tools support multiple simultaneous connections?
Applications such as Microsoft Teams, Zoom, and TeamViewer all allow multiple simultaneous connections during screen-sharing sessions. Other options include Google Meet, Cisco Webex, and AnyDesk, which enable users to share screens with several participants concurrently.
Q3. How can I share both screen and audio with friends via a software?
To share both screen and audio, you can use applications such as Microsoft Teams, Zoom, or Google Meet. These software solutions enable users to share audio and video content simultaneously while participating in meetings or virtual events, ensuring a seamless and engaging experience.
Q4. Are there built-in screen sharing features within Windows 10?
Yes, Windows 10 has a built-in screen sharing feature called “Projecting to this PC”. To use this feature:
- Select Start > Settings > System > Projecting to this PC.
- Under the “Wireless Display” option, select Optional Features.
- Next, to Add an optional feature, select View features, then enter “wireless display”.
- Enable the wireless display feature by selecting the check box next to it.

