In today’s fast-paced digital world, clear communication is vital for successful online meetings. Sharing your screen can make all the difference. Microsoft Teams has built-in functionality that enables you to share your screen. This user-friendly feature helps improve collaboration and can take your presentations to the next level.
Understanding how to share screen on Teams is essential for maximizing the platform’s potential. We’ll provide a step-by-step guide on using this feature and making it easier for you to collaborate with your team members. This way, you will deliver engaging presentations in Microsoft Teams. Let’s check that all in the below article.
Understanding Screen Sharing on Teams

Screen sharing in Microsoft Teams allows you to share your entire screen, a specific application window, a PowerPoint presentation, or even use a virtual whiteboard during a meeting or chat. By mastering this feature, you can confidently present your content and collaborate more effectively with your colleagues.
Whether you’re new to Teams or an experienced user, sharing your screen efficiently will improve your workflow. This will enhance your online meetings, allowing you to present information and maintain a cohesive remote work environment.
How to Share Screen on Teams?
Sharing your screen on Microsoft Teams is a crucial feature for effective collaboration during meetings. This guide will help you understand how to share your screen on different platforms, including Windows, Mac, Linux, and web browsers. In this section, we will check the step-by-step feature of “How to share screen on teams” on different platforms.
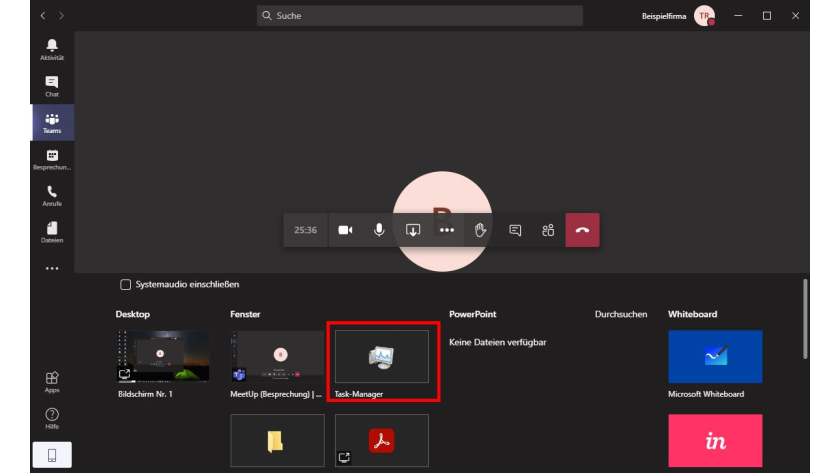
Screen Sharing on Windows
To share your screen on Microsoft Teams using a Windows desktop:
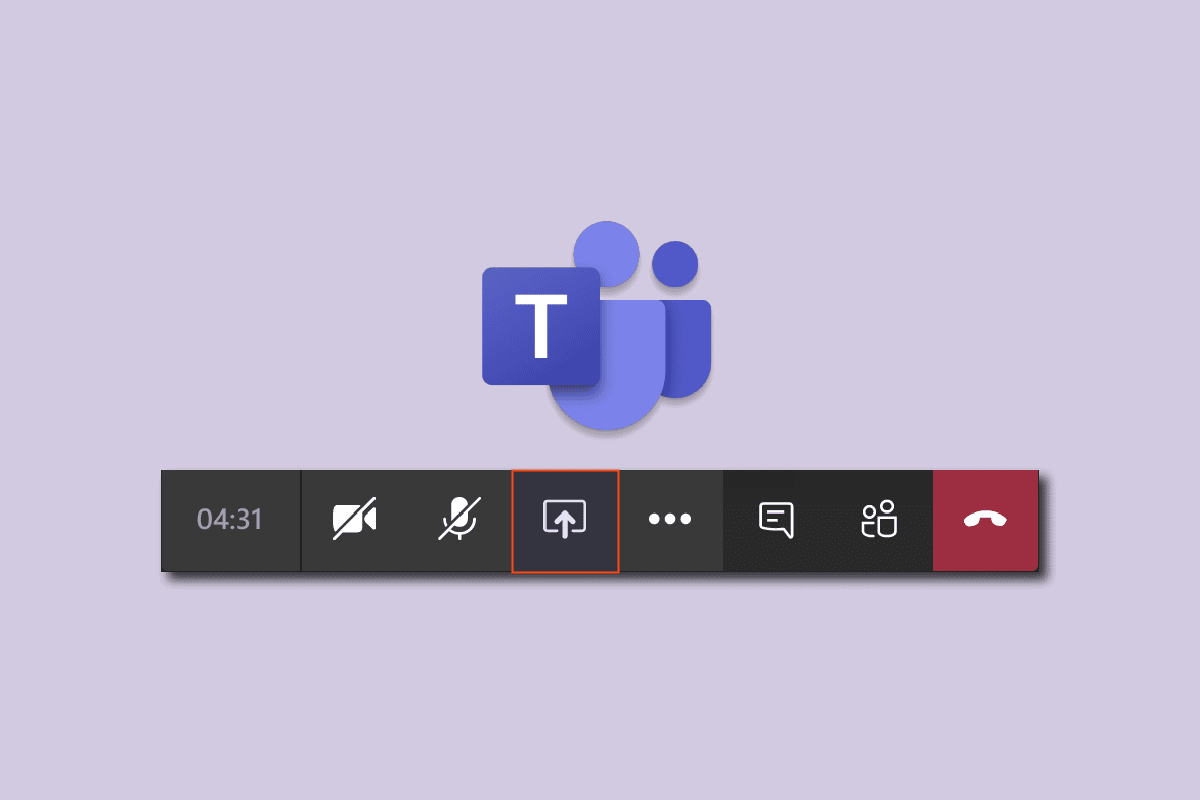
- Join a meeting and click on the “Share Content” option (an up-arrow icon) at the top of the Teams interface.
- In the Share Content section, you have two options:
- Click “Screen” to share your entire screen.
- Click “Window” to share a specific app’s window.
- Select the content you want to share, and your screen will then be visible to the meeting participants.
Screen Sharing on Mac
For Mac users, follow these steps to share your screen on Microsoft Teams:
- Begin by joining a meeting and selecting the “Share Content” option at the top of the Teams interface.
- If prompted, allow Teams to access your screen by going to Apple Menu > System Preferences > Security & Privacy. Under Screen Recording, make sure Microsoft Teams is selected.
- Choose either “Screen” or “Window” in the Share Content section, depending on whether you want to share your entire screen or a specific app’s window.
- Your screen will now be visible to the participants in the meeting.
Screen Sharing on Linux
For Linux users, follow these instructions to share your screen using Microsoft Teams:
- Join a meeting and click on the “Share Content” option at the Teams interface’s top.
- Select either “Screen” or “Window” from the Share Content section to share your entire screen or a specific app’s window.
- Choose the content you wish to share, and your screen will become visible to the meeting participants.
Screen Sharing on Browser
To share your screen using the Microsoft Teams web app on Google Chrome or Microsoft Edge, follow these steps:
- Join a meeting and click on the “Share Content” option at the top of the Teams interface.
- In the Share Content section, click “Screen” or “Window” to share your entire screen or a specific app’s window.
- When prompted, allow the browser to access your screen by selecting the “Allow” button.
- Choose the content you want to share, and your screen will be visible to other participants in the meeting.
Screen Sharing on iPhone and iPad
To share your screen on iPhone or iPad, follow these steps:
- Open the Microsoft Teams app on your device and join a meeting.
- Tap the Share button located in the meeting controls.
- Select Share Screen from the list of options.
A dialog box will appear with a brief overview of screen sharing. Once prepared, click Start Broadcast. After a short countdown, your screen will be shared with the participants in the meeting. To stop sharing your screen, open the control center and, tap the red Screen Recording button, then select Stop Broadcast. Sharing information through ioT can be risky; hence you can check our guide for monitoring it behind firewalls.
Screen Sharing on Android Phones
Screen sharing on Android phones involves slightly different steps:
- Open the Microsoft Teams app and join a meeting.
- Tap the Share button in the meeting controls.
- Select Share Screen from the list of options.
You may be prompted to grant permission for Microsoft Teams to display over other apps. If so, click Start Now. Moreover, enable Do Not Disturb mode on your mobile device to prevent any interruptions during screen sharing. Note that sharing your screen consumes more battery life; having your device plugged in or fully charged is recommended. Hence, you have got the answer to how to share screen on teams.
How to Share Audio on Teams?
Sharing audio on Microsoft Teams is a helpful feature that lets you include your computer’s sound during a meeting. This can be beneficial, mainly when presenting videos and multimedia content. In this section, you’ll learn how to share audio on Teams confidently and clearly.
To share audio in a Teams meeting:
- Once you’re connected to the meeting, locate and click on the Share content icon in your meeting controls. Coming at the top of the Teams interface as an up-arrow icon.
- When the Share content panel opens, you’ll find various sharing options. Look for the Include computer sound toggle within this panel.
- Switch this toggle on to ensure that all of your computer’s audio, including notifications and app sounds, will be shared during the meeting.
Managing Screen Sharing Controls
Unlocking the potential of seamless collaboration lies in mastering the art of “Managing Screen Sharing Controls.” As the conductor of your virtual orchestra, understanding these controls empowers you to orchestrate engaging presentations. Let’s check what features you can enjoy while sharing and what you must know.
1. Starting and Stopping Screen Sharing
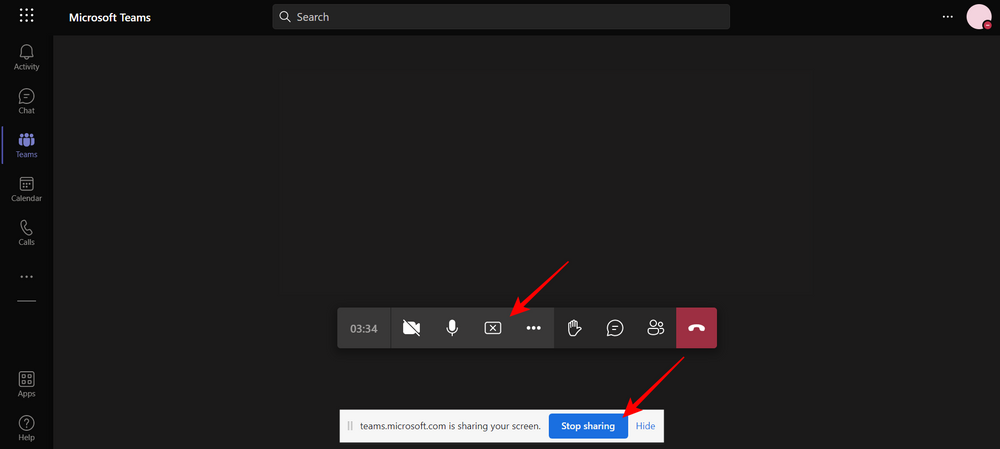
To start sharing your screen in a Microsoft Teams meeting, click the share icon in the meeting controls. Choose a window, desktop, or the specific content you want to share. Your screen’s border will turn red, indicating you’re sharing. To stop presenting, click the share icon again and select stop sharing.
2. Giving and Taking Control
As the presenter, you can allow meeting participants to take control of your screen. To do this, approach your mouse over the top of the screen, click the window name, and select give control. Choose the participant you want to give control to. If you wish to take back control, click Release Control in the drop-down menu.
3. Managing Notifications
During screen sharing, you’ll receive notifications when participants request control, start or stop sharing their screens, or join the meeting. To manage these notifications, visit Teams settings and adjust them according to your preferences.
4. Zooming In and Out
To zoom in and out during screen sharing, go to the floating toolbar at the top and click on the magnifying glass icon. Select the desired zoom percentage to adjust the view accordingly.
Advanced Screen Sharing Features
Microsoft Teams offers various advanced how to share screen on teams. So that you can enhance your presentations and collaborations during a meeting, this section will cover the use of PowerPoint Live and Freehand by InVision. These features can help you create engaging visuals, collaborate effectively, and provide clear information to your teammates. Well, you can teach and learn through the remote control iPad feature as well. It enables one to use iPad at a distance.
Using PowerPoint Live
When you want to present a PowerPoint file during a Teams meeting, use the PowerPoint Live feature. This allows you to share your presentation seamlessly without switching between applications. Here’s how to use PowerPoint Live:
- During the meeting, click on Share Content in your meeting controls.
- Among the sharing options, select PowerPoint.
- Choose the desired PowerPoint file from your computer or recent files.
- The presentation will start, and you’ll have control as the presenter.
Using Freehand by InVision
Freehand by InVision is an integrated whiteboarding tool. It lets you create sketches, wireframes, or illustrations during a Microsoft Teams meeting. This feature facilitates real-time collaboration and idea-sharing among attendees. To use Freehand by InVision, follow these steps:
- Ensure that you have added the Freehand by InVision app to your Microsoft Teams.
- During a meeting, click Share Content in the meeting controls.
- Choose Freehand by InVision from the available options.
- Begin collaborating with your team using this interactive whiteboard.
You and your team can draw, write, and add additional visuals to this shared canvas. Remember that Freehand by InVision may require a separate account with InVision, and it has its privacy and sharing settings.
Frequently Asked Questions
Q1. How to enable screen sharing on iPad?
Open the Microsoft Teams app on your iPhone or iPad. Join a meeting, look for the controls or toolbar at the bottom of the screen. Tap on the “…” (more options) button, usually at the screen’s bottom-right corner. Select “Share screen.” Choose the appropriate option based on what you want to share. Follow the on-screen prompts to confirm and start screen sharing.
Q2. How to troubleshoot screen-sharing issues?
If you’re experiencing difficulties with screen sharing in Microsoft Teams, try the following steps:
- Check your internet connection and make sure it is stable.
- Ensure you have granted the necessary permissions.
- Update your Teams application to the latest version.
- If using a browser, ensure it is compatible and that you granted the browser permission to record your screen.
Q3. What is a Share tray in Teams, and how to access it?
During a meeting in Microsoft Teams, you can access the Share Tray by clicking the “Share Content” button (an up-arrow icon) at the top of the Teams interface. The Share Tray allows you to choose various content options to share, like your entire screen, specific app windows, or a PowerPoint presentation.
Q4. How to share screen while showing video?
In Microsoft Teams, you can share your screen and video simultaneously. While meeting, click on the Share Content icon (up-arrow). Select the content you want to share. Your video will continue playing in a small window while sharing the screen.
Q5. How to Stop Sharing Screen on Microsoft Teams Shortcut
To stop sharing your screen in Microsoft Teams, you can use the Ctrl+Shift+X keyboard shortcut on Windows or Cmd+Shift+X on macOS. Alternatively, during screen sharing, you could click the Stop Sharing button directly in your Teams interface.
Conclusion
In conclusion, leveraging your subscription benefits, exploring the web version of Teams, participating in training courses, engaging with communities, and seeking experts’ advice will undoubtedly elevate your screen-sharing experience. Remember, the Team is a powerful tool; staying informed of its functionalities will help you unleash its full potential. Hope you have got all the information on “how to share screen on teams?”


